> ## Documentation Index
> Fetch the complete documentation index at: https://docs.facebetter.net/llms.txt
> Use this file to discover all available pages before exploring further.
# 快速开始
> 跑通 Android 示例程序
## 环境要求
* **Android 版本**: `Android 5.0` 及以上
* **开发语言**: `Java`
* **架构支持**: `armeabi-v7a`, `arm64-v8a`
## 获取示例源码
克隆 [github 仓库](https://github.com/pixpark/facebetter-sdk) 到本地, 使用 Android Studio 打开 `android/demo` 目录的工程
```bash theme={null}
git clone https://github.com/pixpark/facebetter-sdk.git
```
## 配置应用信息与密钥
### 绑定应用包名
按照 [此页面](/zh/intro/enable-service#绑定应用信息) 指引,在控制台绑定您的 Android 应用包名(App Package Name),例如:`com.example.app`
### 获取 AppID 和 AppKey
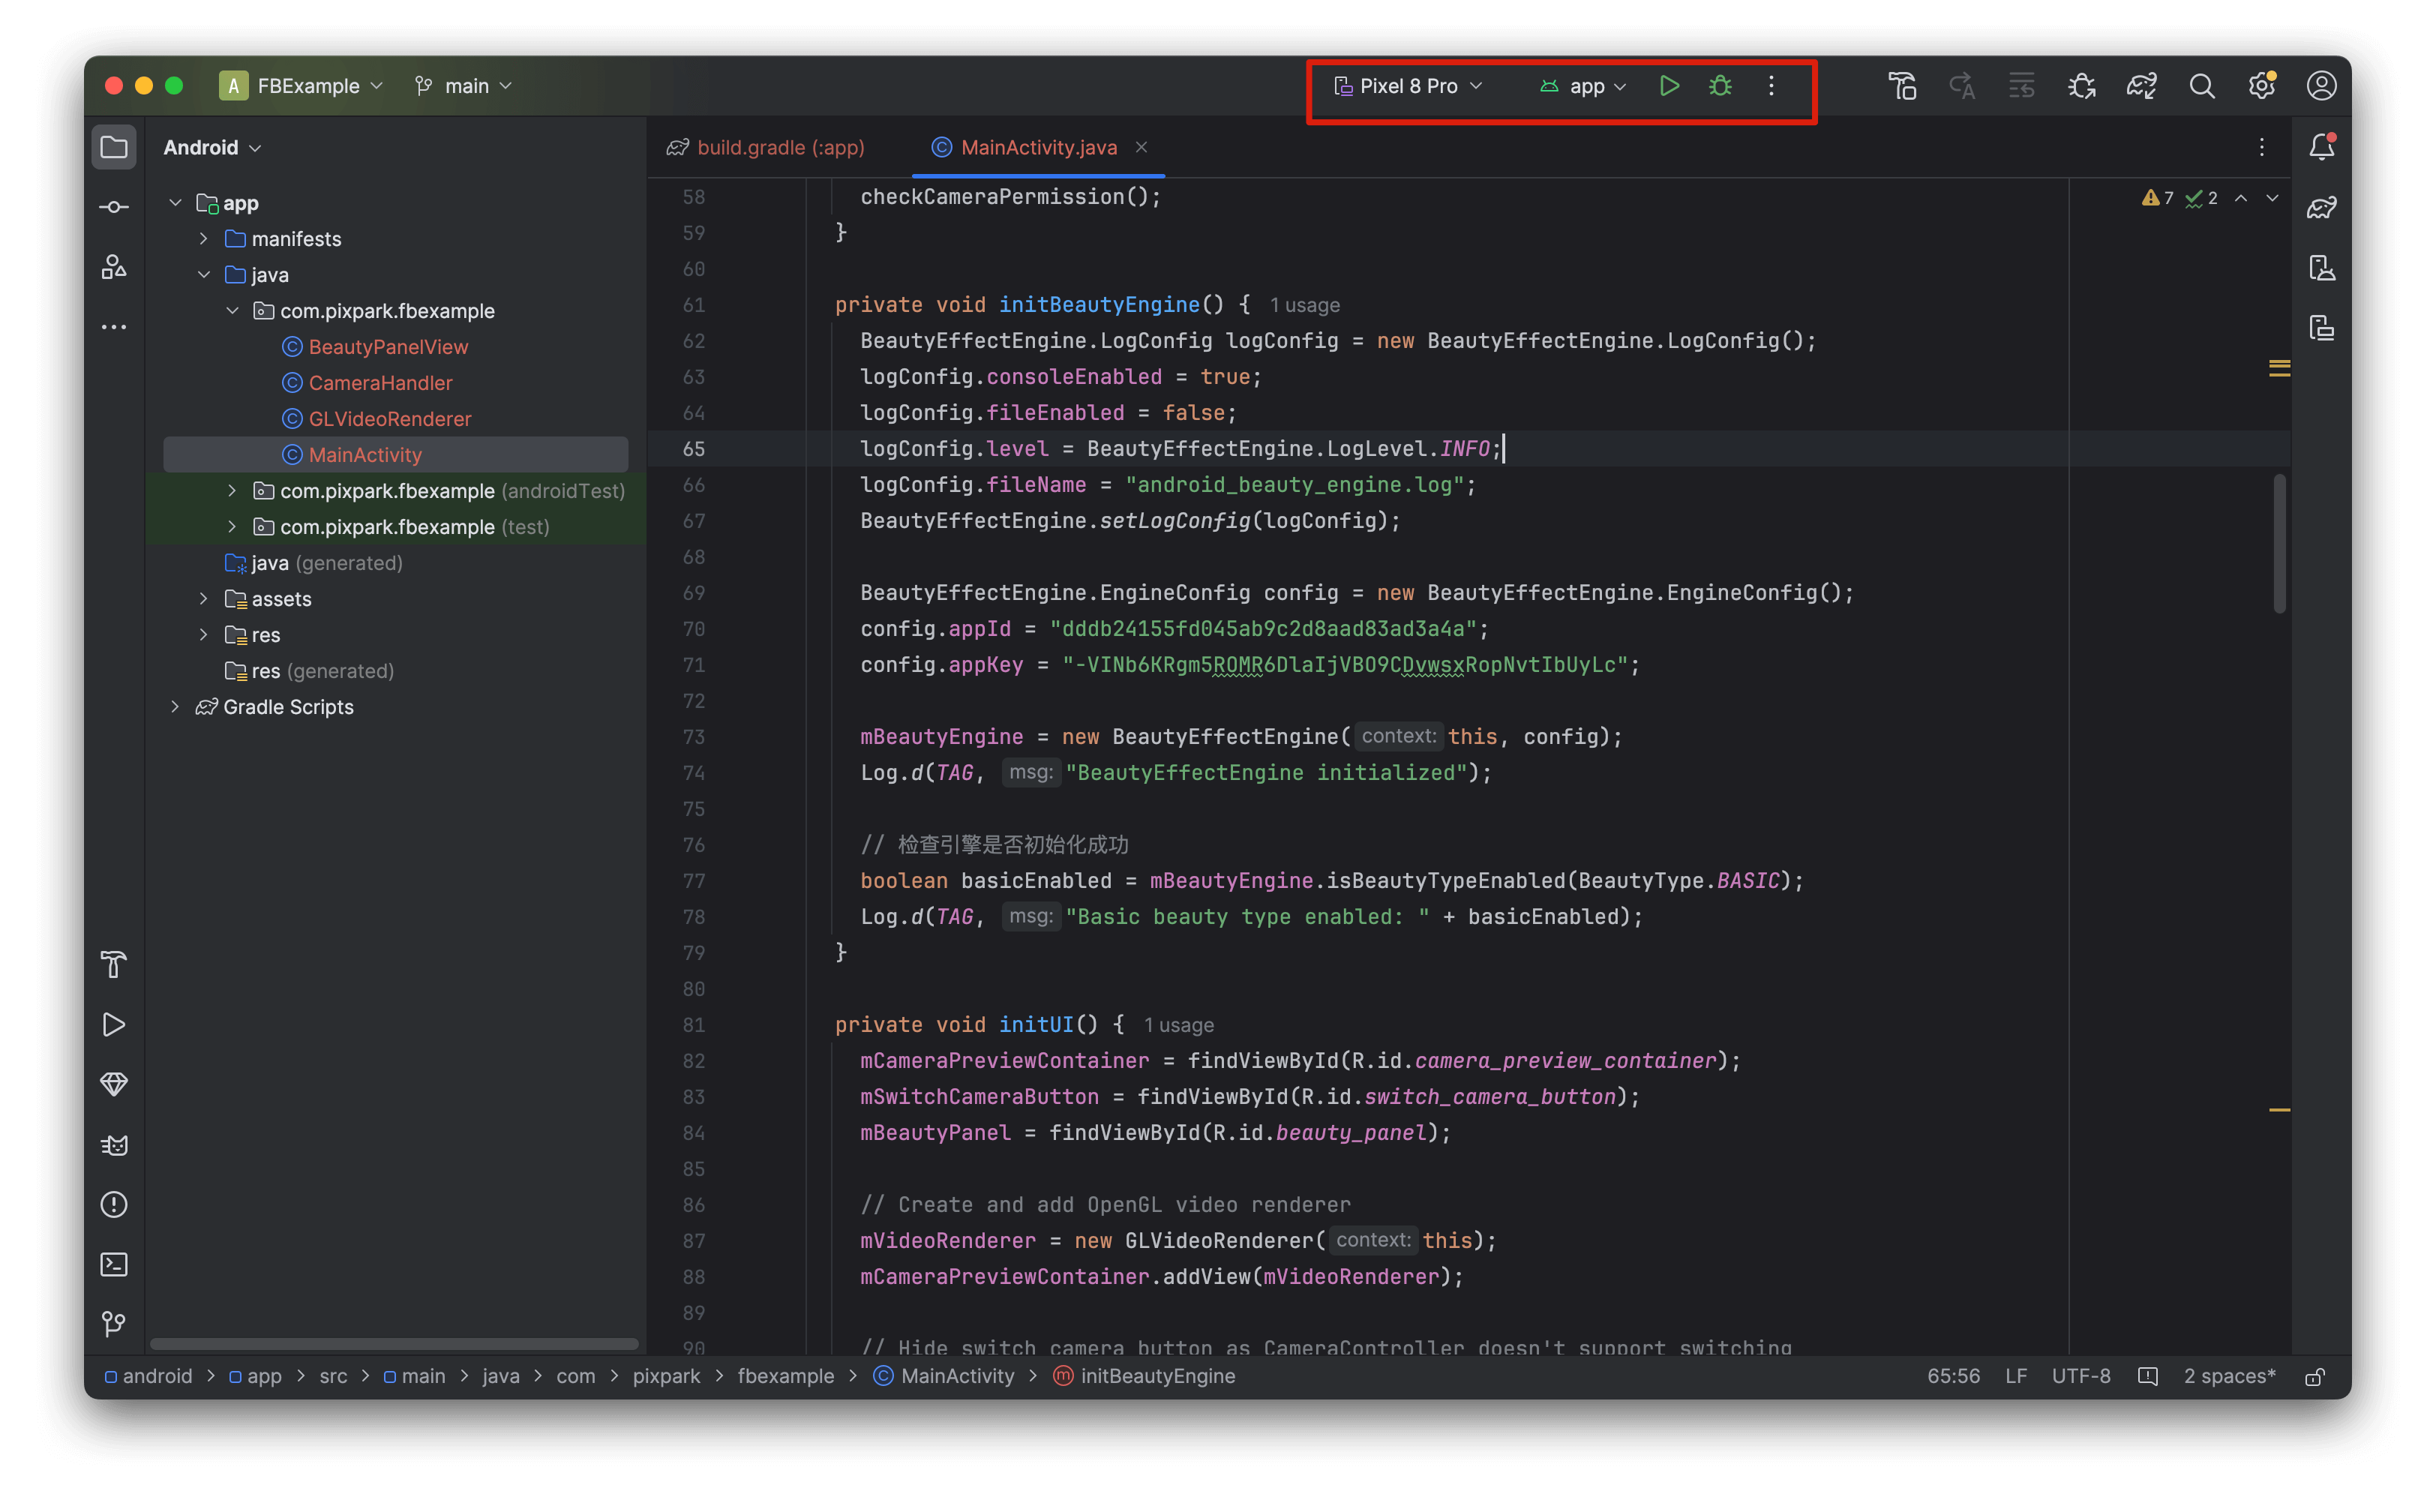
按照 [此页面](/zh/intro/enable-service#获取-appid-和-appkey) 指引,获取 `appid` 和 `appkey`, 打开工程中 `MainActivity.java`, 修改 `appid` 和 `appkey`
```java theme={null}
BeautyEffectEngine.EngineConfig config = new BeautyEffectEngine.EngineConfig();
config.appId = "your appId";
config.appKey = "your appkey";
// 可选:如果提供了 licenseJson,则优先使用授权数据验证,不需要 appId 和 appKey
// config.licenseJson = "your license json string";
mBeautyEngine = new BeautyEffectEngine(this, config);
```
`licenseJson` 优先级高于 `appId` + `appKey`。离线文件下载与完整说明见 [授权认证](/zh/intro/license)。
## 运行工程
在 Android Studio 中 Sync 完毕工程,选择运行设备,运行即可